Compass Skills
Adapted from "Orienteering For The Young" by Peter Palmer, published by the British Orienteering Federation, 1976. ISBN 0 9592281 1 7.
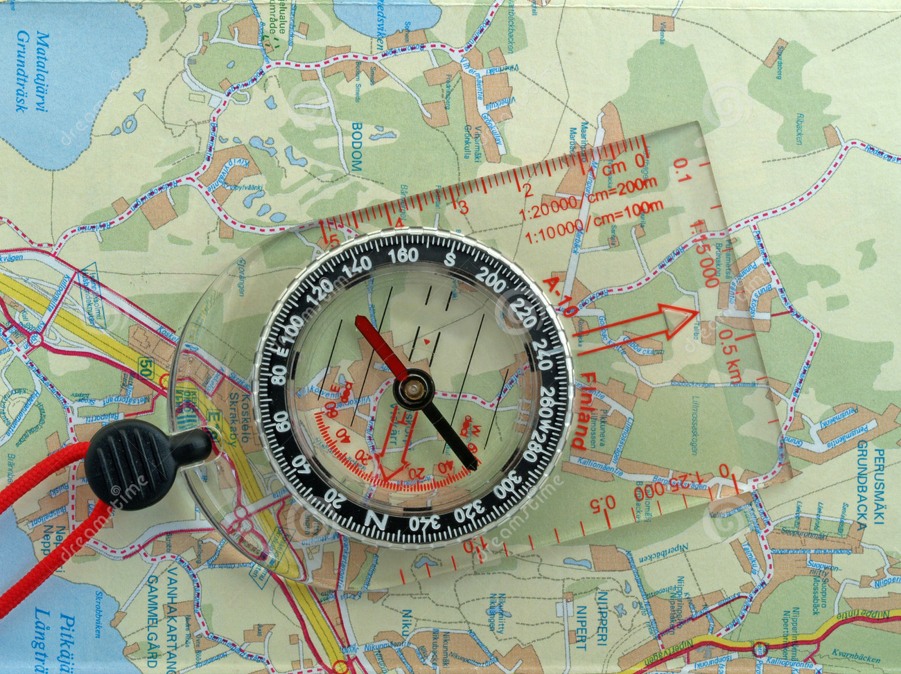
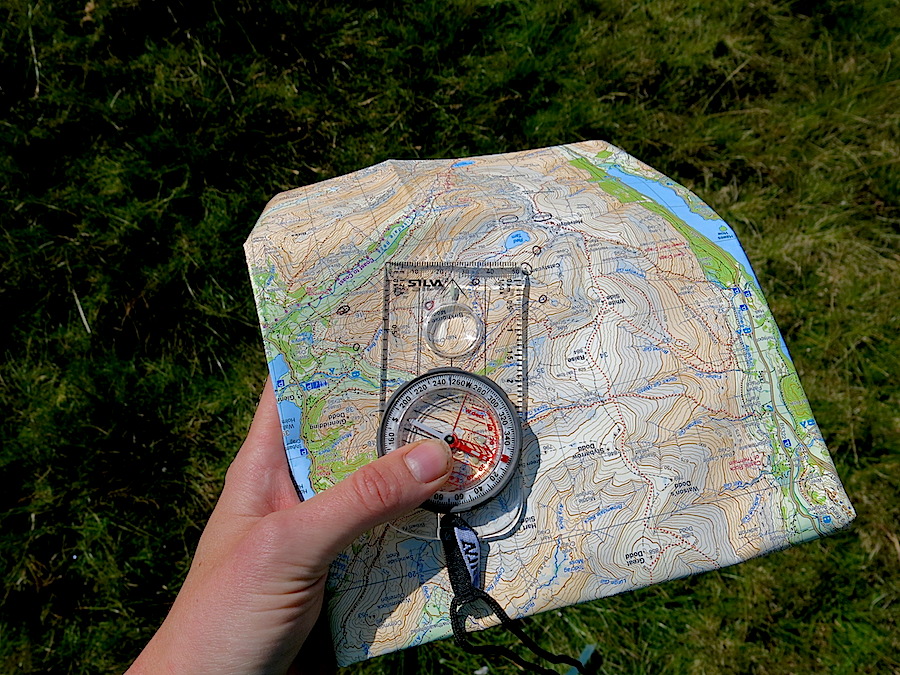
The compass housing with its 360 degree markings is the protractor; the baseplate with its straight sides the ruler. The millimetre scale on the compass edge can be used to measure distance on the map.
The compass is not the magic answer to orienteering success. It is an aid, but one that has dangers if misused. The compass is a help in staying on course, in orientating the map North-South, and in measuring distance. In flat areas with few map details you will have to use your compass more often to arrive at your destination. The more detailed the map, the less you will need to use the compass.
Taking A Bearing
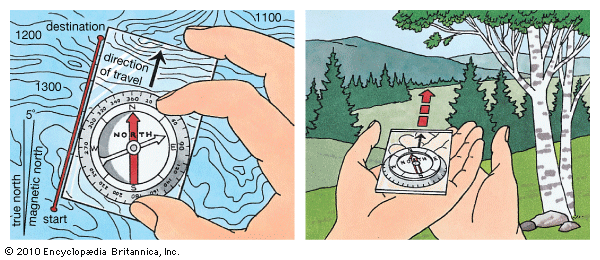
Place the compass on your map with one edge of the base-place touching both starting-point and destination, with the direction-of-travel arrowhead on the base-plate pointing in the direction you want to go.
Now turn the compass-housing with its 360° markings until the orienting arrow points to north on the map, that is, lies parallel to the nearest North-South line (northings). (The northings on orienteering maps are drawn to magnetic north, so there's no need to get confused about adding or subtracting degrees to convert from grid or true north).
You can get the bearing in degrees by simply reading off the figure at the degree marking on the rim of the compass housing where the direction line touches it, but the orienteer doesn't need to worry about a degree bearing — he's in too much of a hurry anyway. It's direction of travel he's concerned about.
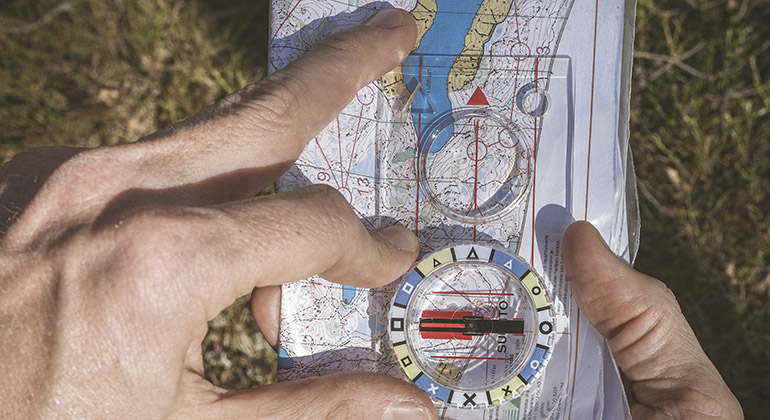
You've taken your bearing off the map; now there are several other vital steps to take: —
(a) Make sure your compass is well away from any safety pins or a metal whistle, also that you are not standing by an iron fence or under power lines. (Metals and electric cables, including electric fences may cause a compass to misread the true magnetic direction.)
(b) Place the compass flat on your hand with the "direction-of-travel" arrow pointing in the same direction you are facing.
(c) Turn your whole body until the red (north) end of the magnetic needle points to the north sign on the compass dial. This is probably the most important detail for the new orienteer and neglect of this has caused more traumatic experiences than any other orienteering mistake. An 180° error can happen even with the expert (i.e. the white end of the magnetic needle pointing to the north arrow).
(d) Look up to see where your Direction of Travel arrow is taking you, then pinpoint an object as far away as the terrain will allow, i.e. a particular tree or crag. Walk or run towards it, and then repeat the procedure for the next section. If you simply look at the compass and run, you'll either fall over or be driven off your bearing by brashings or other underfoot hazards.
(e) When taking bearings on the run or looking at your compass to check you're on course, always allow two or three seconds for the needle to settle down. This is another frequent reason for junior errors. Remember always to keep the compass flat in your hand and your body behind it. The faster you're moving, the easier it is to slide subtly off a bearing, and in negotiating from attack point to control you're often working to very fine limits.
Other useful tips
Attach your compass to the wrist of the opposite hand to that in which you hold your map. Don't hang it round your neck. It can catch on branches with very dangerous results!
Many expert orienteers don't bother to take an exact bearing on the coarse orienteering part of a leg. They simply judge the bearing by just looking at the map and turning the compass housing without setting it on the map. Others simply run "on the needle". This means that instead of setting the compass you roughly compare the direction you want to run to the magnetic needle (e.g. due north, or a little west of south). Checking the compass in these cases is less frequent and you can gain time by slowing down less in fast open areas of the forest.
